We’ve been watching a bit of Great British Bake Off (or GBBO) around here lately. I’m not sure how we got on it, but I think it happened when we finished The Queen’s Gambit and we were looking for something light to watch for an evening. Many cakes, jelly rolls, biscuits, and pastry weeks later, I was really, REALLY craving cake.
At the same time BaseCamp, the group of folks I do my bike training with, were doing a little photo contest sponsored by Chamois Butt’r (which I love). There was a food category, albeit I think more about the healthy, nutritious foods we’ve been focused on.
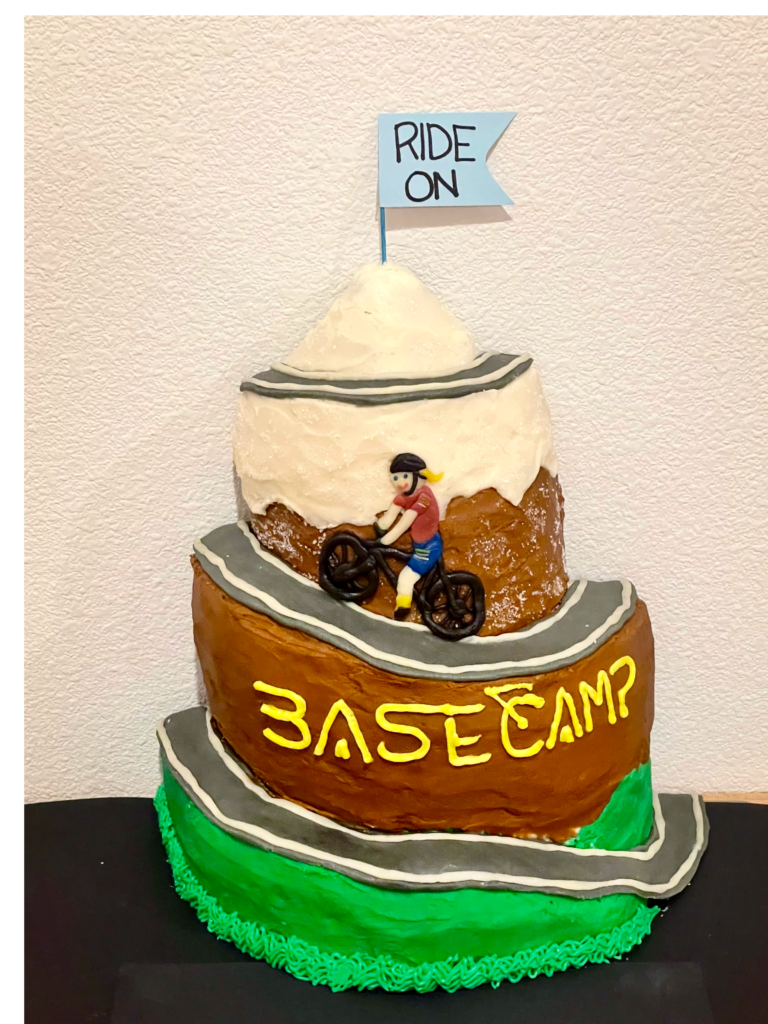
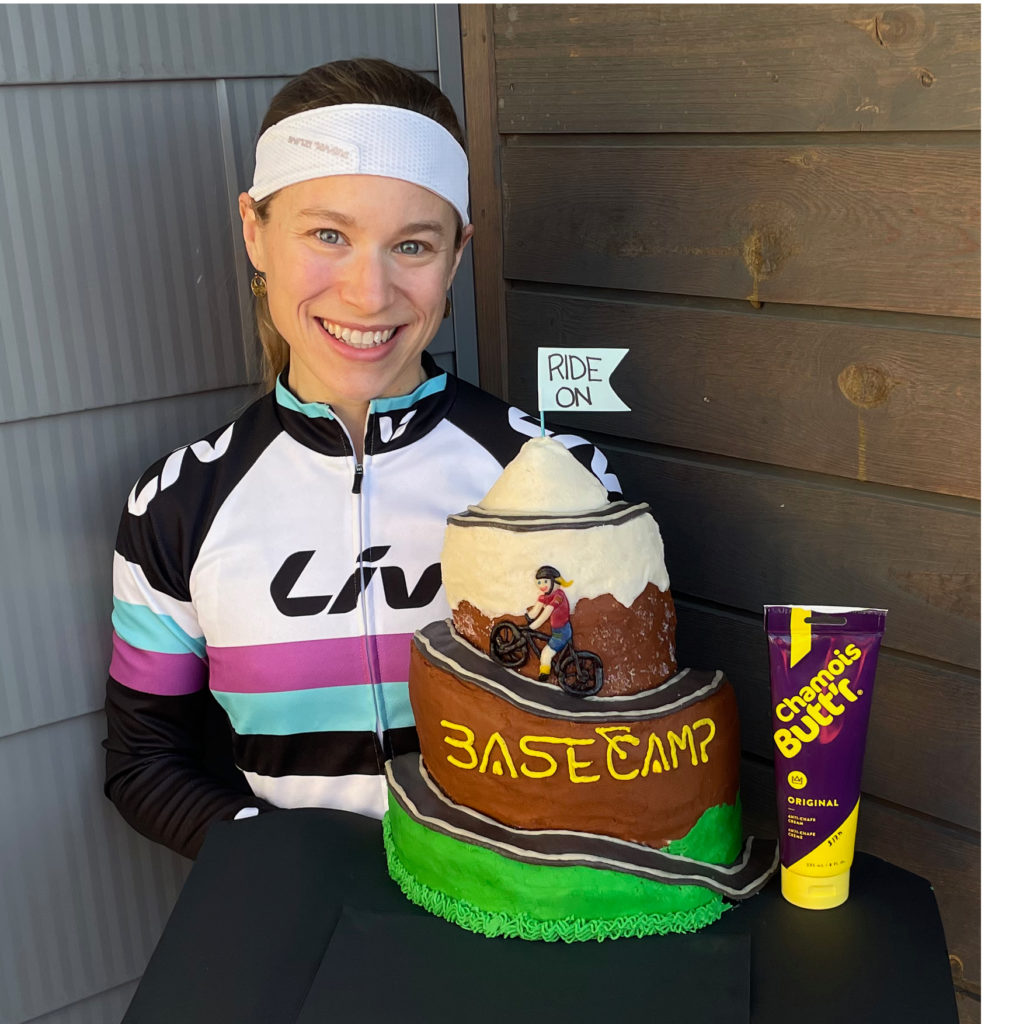
Those things combined, plus an easier weekend on the bike, lead to THE GREAT BIKE CAKE!

That’s what the finished version looked like, and it took no less than three days to make.
I started on Friday night by baking the actual cake layers. I found THIS recipe on Smitten Kitchen and made a handful of small modifications to bake it in 9″ and 6″ rounds. I also adjusted for altitude, as I typically do, using King Authur’s tips here.
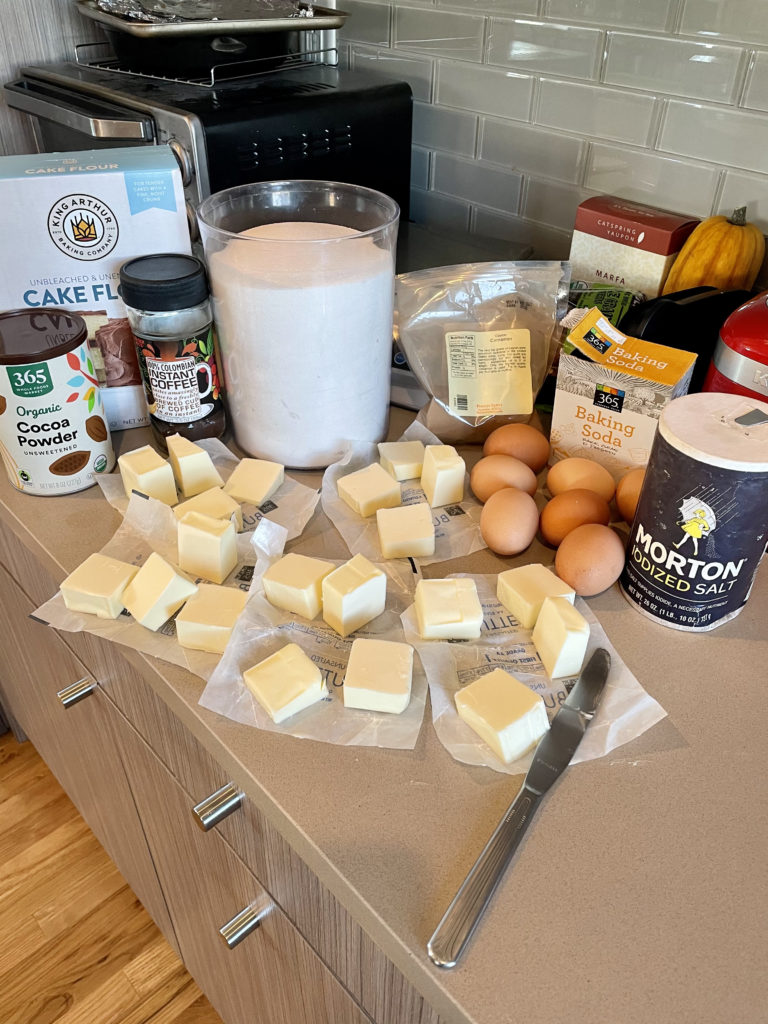
The thing is, I also got it in my head that I should try baking strips again (like these, but a homemade version made from damp paper towels and tinfoil). The funny thing is, I’ve tried them before (in fact, I think I even bought some real ones) and I had this vague recollection they hadn’t worked out. No matter, I forged ahead.
After making so much batter I couldn’t fit it into my 6Q KitchenAid (I’ll spare you the details) I was ready to batch bake. The first set of cakes were baked in one 9″ cake pan, one 6″ cake pan, and one 9″ springform pan. That springform is a little old and maybe doesn’t seal quite as well as it could, but it’s mostly not an issue… until it is. A few minutes into baking there was suddenly smoke coming out of the oven. I blame the baking strips but, whatever was cause, the result was liquid batter dripping down to the bottom of the oven and burning. After several minutes of clean up (involving the half baked cakes coming out of the oven and double checking our fire extinguisher was at the ready), and everything was back in the oven. All this combined for this set of cakes to bake an EXCEPTIONALLY long time and not ever quite be… done. They landed at sort of a more brownie/fudge-like consistency. I’m not necessarily complaining, but I’m not sure it was the light cake layers Paul Hollywood would have looked for. An additional third 9″ and second 6″ batch later and the baking was done. Into the freezer for the night.
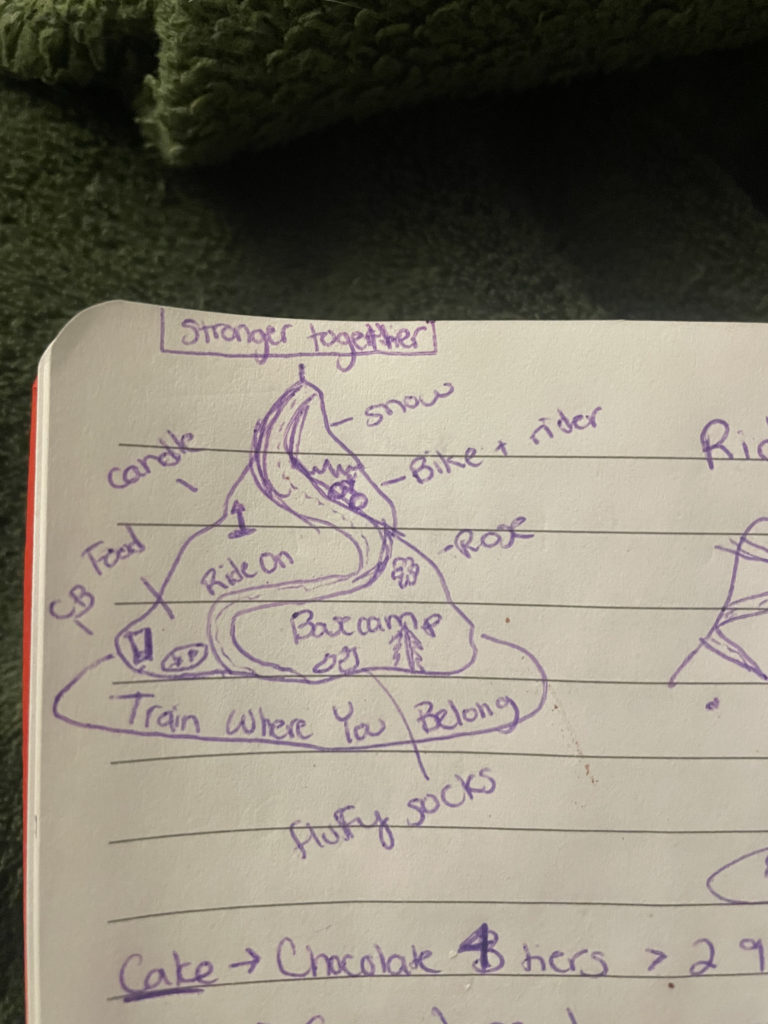
I’m a TERRIBLE artist, but I’m also a really visual person. I had sketched out this vague idea of a cake mountain with a variety of decorations on it. But late Friday night as I looked at my layers I realized my idea wasn’t quite going to work. The cake layers were not tall enough. I needed more cake. But I’d already made enough cake to apparently “serve 50”. More cake seemed like a bad idea given that there were only two people who’d be eating it. Lying in bed that evening, I realized that maybe, MAYBE, I didn’t need more cake. I just needed to get creative.
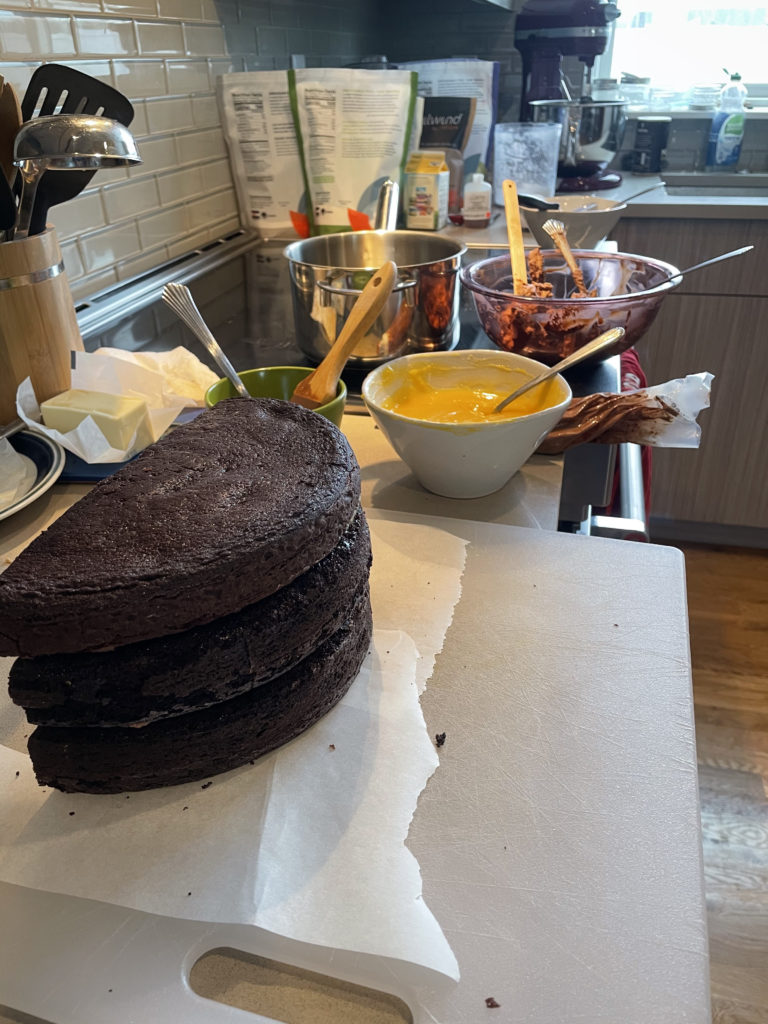
The next morning started off with an FTP test (or, a 20min all out effort on the bike). It went… fine. I think my legs were very sore from some impromptu shoveling we had to do the day before (but that’s a whole other story). After that, I got to work with the frozen layers, and determined that by cutting them in half and stacking them I could get a much taller cake. I figured I could make it a fun background to lean against, and we were in business.
Next up was fillings – I was planning on a Chambord flavored ganache and a raspberry curd. However, we realized the cheesecloth was missing and we somehow still don’t have a fine strainer, so I opted for a last minute switch to lemon curd with orange zest. And then, the assembly began!

Before long, I had all the layers filled and stacked. The whole thing was now resting against a cutting board propped up by a peanut butter jar backed by our blender because the cake had started to collapse backward (as I also didn’t have any dowels).
At this point, I had to figure out how to make the road. Like I said, I’m a visual person, and I really couldn’t figure out how to carve out a road in the way I wanted. Finally, after just STARING at the cake for ages (and looking at some online pictures of other “road” cakes) I realized I didn’t need to carve the road out, I needed to build it on. I had saved a layer for doing something like this, so quickly got to work shaping my road. The construction wasn’t necessarily pretty, but it worked! This was the first time I think I realized the cake might actually work. I was even able to leave the top flat, as the top of top Alpe Du Zwift, which is what this mountain is modeled off of, has a flat turn around. (Also, Alpe Du Zwift is modeled off the real Alpe D’Huez, one of the more famous stages of the Tour de France).
By now it was dinnertime, and a Zoom call with friends was coming up quick. I made some quick vanilla buttercream, and proceeded to do the most embarrassing crumb coat ever.
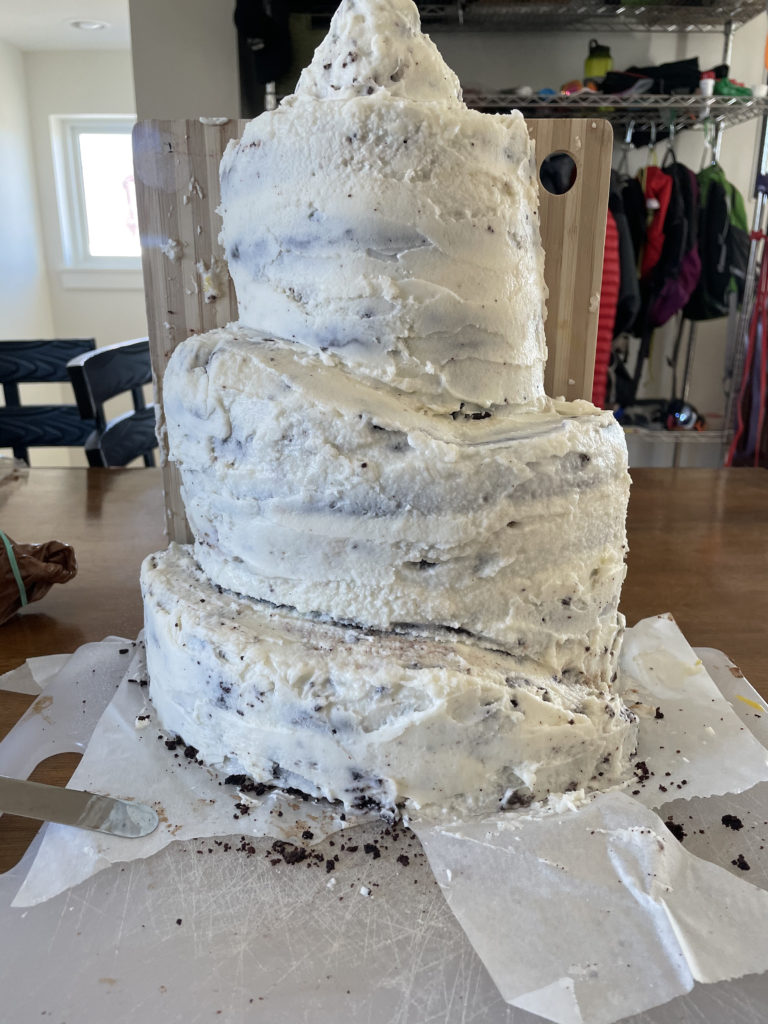
But the point of a crumb coat isn’t to look good, it’s to cover the crumbs up with a light layer of frosting so when you add your second coat it goes on smoothly. It makes a HUGE difference and if you’ve never done it I promise it’s a short step that will make your life so much better. The crumb coat should be relatively smooth but… well.. I was hungry and out of time. Plus I reasoned the cake was suppose to be a mountain, how smooth did it really need to be? And that was that, except that we also had to take out an ENTIRE SHELF in the fridge just so we could fit the monstrosity mountain of a cake in there.
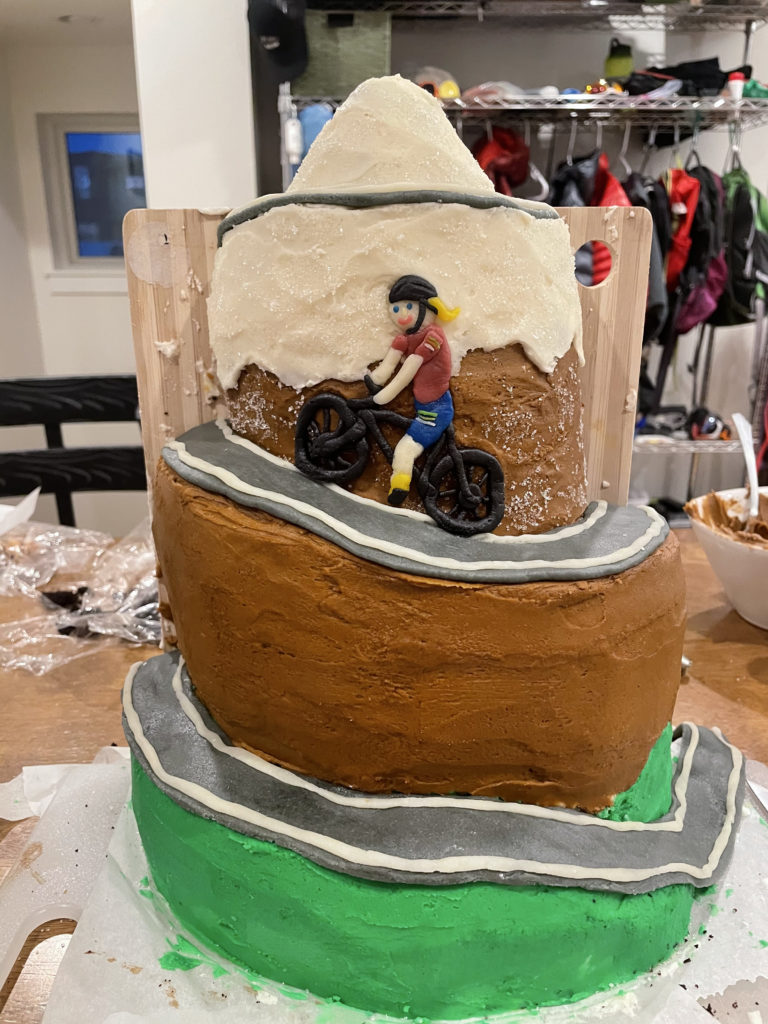
On Sunday, after a short morning bike ride, it was off to finishing touches. First up was to get the whole thing frosted while it was still cold:
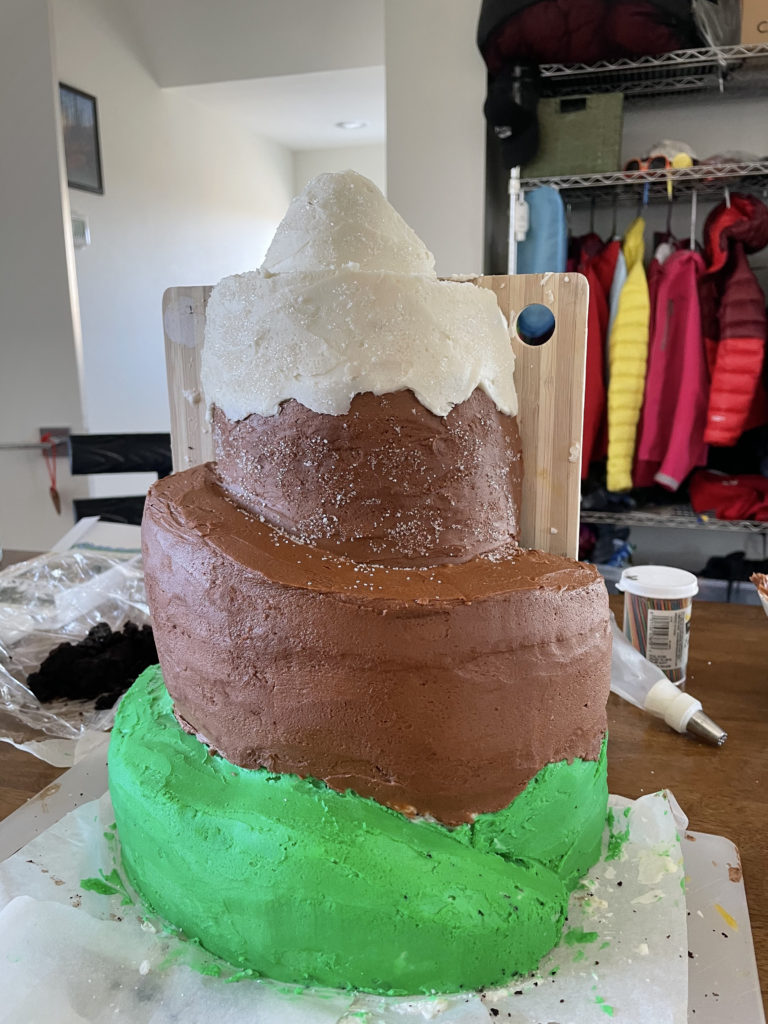
I called Paul down when the three colors were done because I felt like something was missing. I was thinking about making the brown ‘mountain’ part a little more two-toned, but he cleverly suggested some kind of snow would be better. A bottle of sprinkles was quickly found, and soon we had some shimmer!
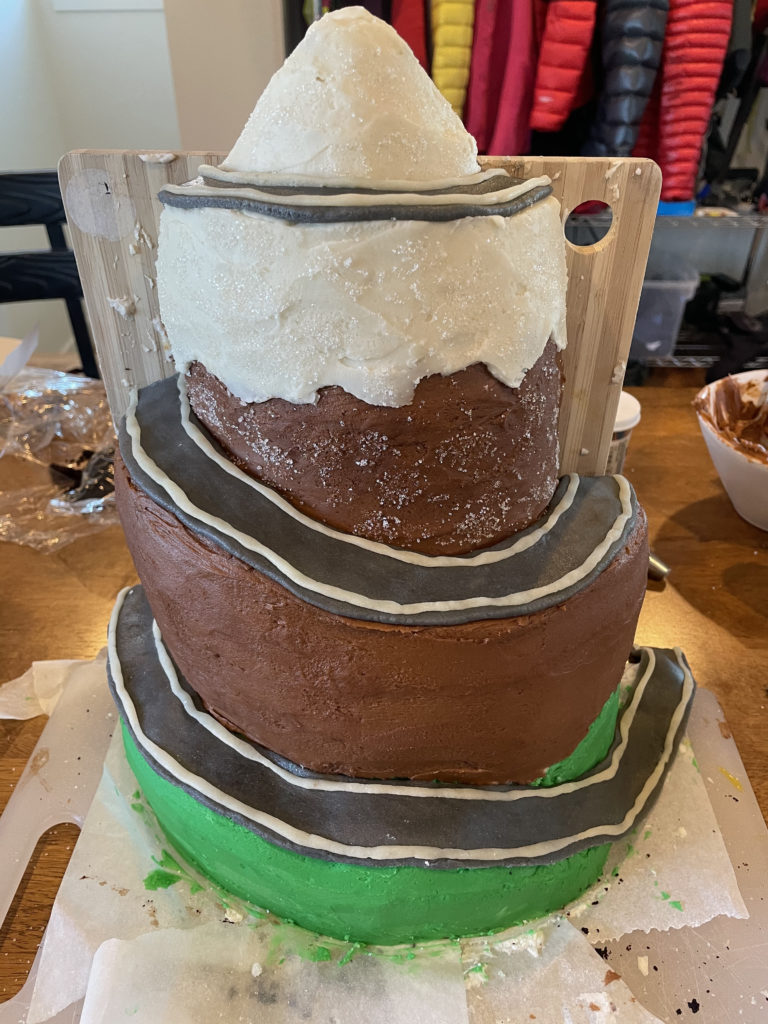
Next up was the marzipan creations. I started with the roads, which involved some quick measurements (1-1 1/4″ inch thick by 8-18″ long) and then rolling out and dyeing the marzipan.
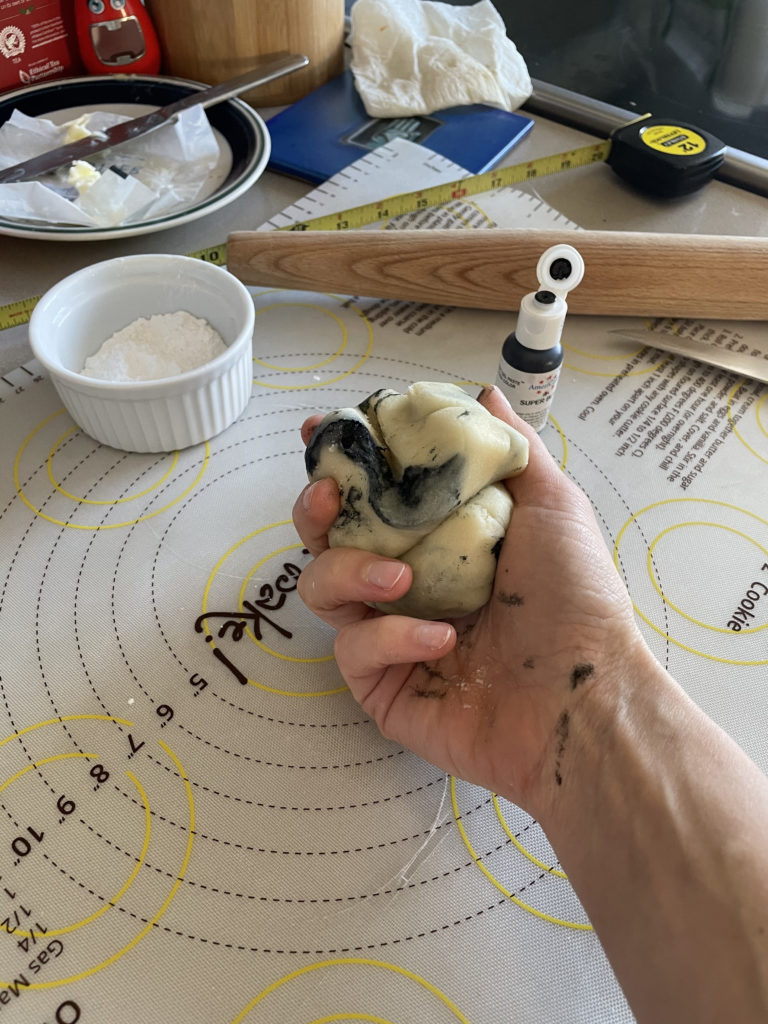
The road up Aple Du Zwift just has some white lines running along it. So I also rolled out teeny tiny little white strips to mimic those.
Then it was time to make my wee biker. Nearly everyone who knows me knows that I am a terrible artist. When I tried to draw a bike from scratch it looked like… well… not a bike. But I really wanted to visualize how this would work, so after looking at some pictures of bikes I managed this:
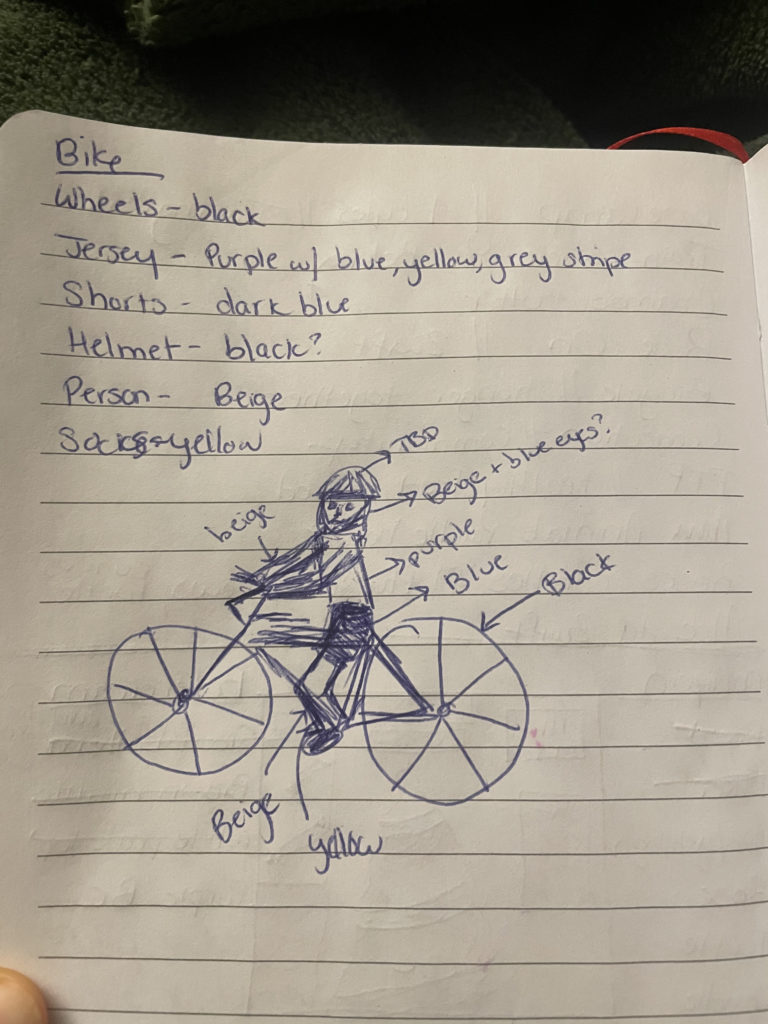
I mean, it wasn’t meant to be a work of art but still… Nevertheless, turns out I can mold a slightly better bicycle and rider than I can draw one. I started by dyeing all my marzipan the correct colors, and then began with the wheels. From there I moved onto the frame and then made sure I could actually move the bike off the mat. Once that was set, I started on the little person. Everything was very miniature, which was fun.

The little person’s legs are a little out of proportion, but all in all I thought it was pretty good for how quickly it came together. The wheels were the hardest part, but I decided not to fuss too much.
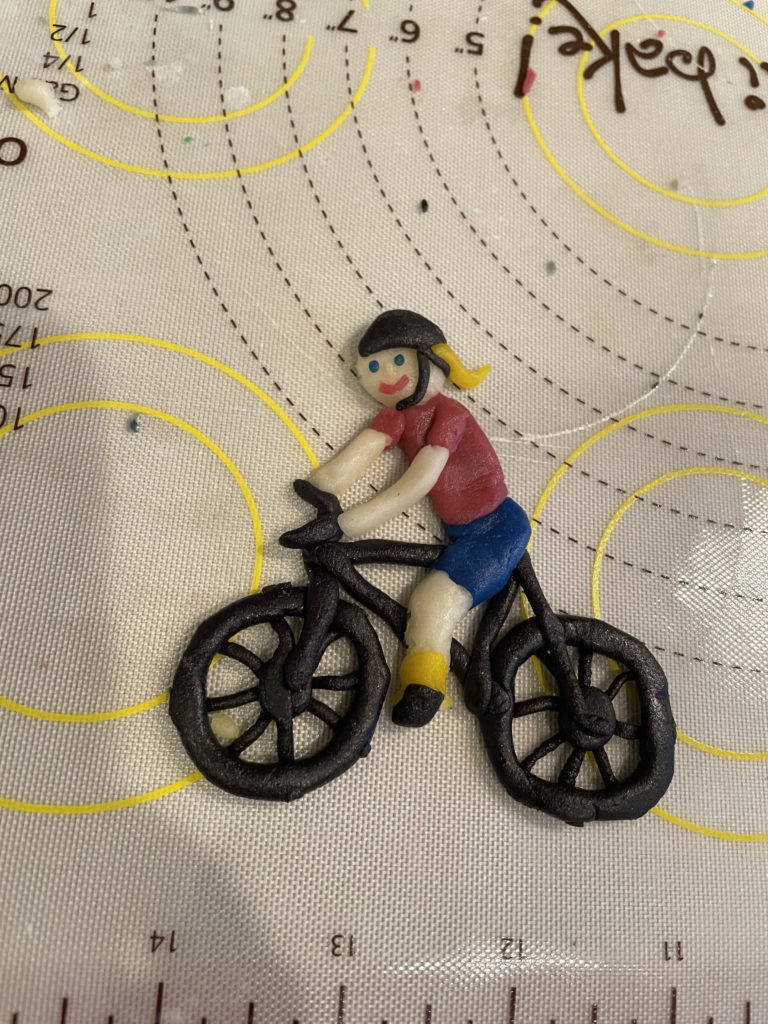
Eventually I was able to lift the person onto the bike with a lot more success than I originally thought. After the shot was taken, I also add the little BaseCamp strips onto the jersey.
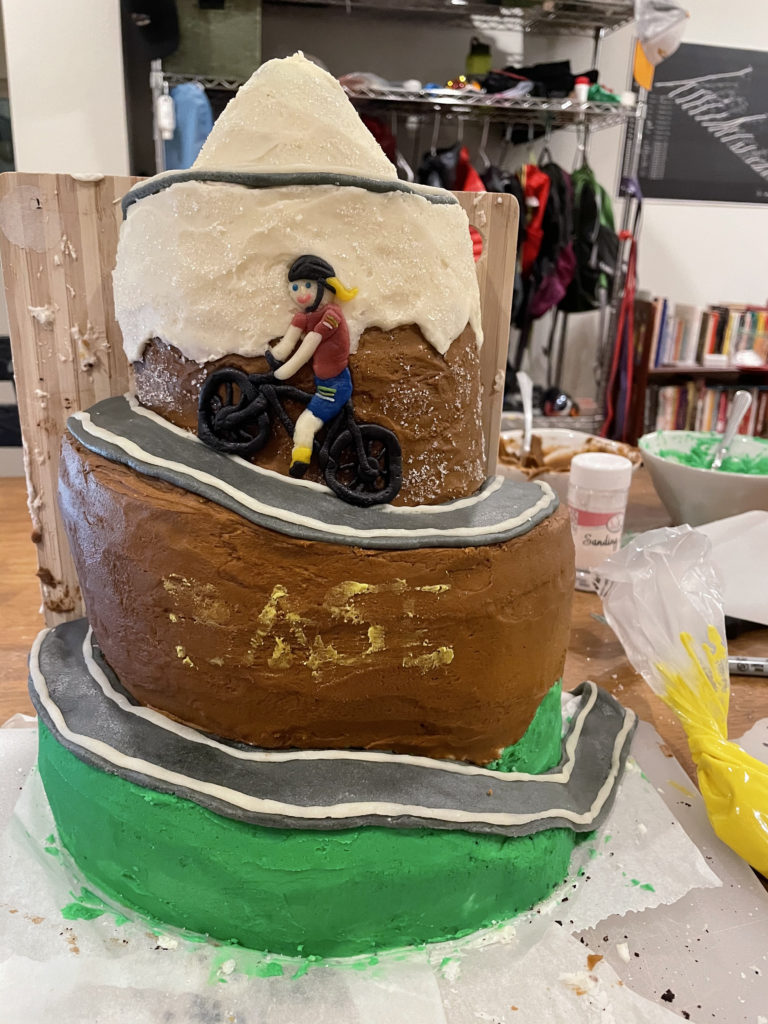
The hardest part of the whole thing was actually moving the cyclist onto the cake (and putting it on at an angle). It involved a bench scraper, a knife, some last minute water, some briefly squished wheels, and probably the most tense part of the whole cake making process (other than the very beginning when I thought it was all collapsing on itself ?).
From there things got easier. The last big component was writing BaseCamp in the style of the logo on the cake. Vertical writing is a little challenging, and I accidentally messed up the placement and quickly realized it was WAY off center. Thankfully, if you’re icing onto cool, dry frosting it’s not too hard to scrap off a mistake.
A last minute color change to yellow helped it to stand out, and also meant that it was easy to blend in any remaining bits of letters with the brown frosting. I had originally planned some extra pieces for the cake, and had I served it in person I probably would have added them. But given the time and the fact that besides Paul and I no one else would see this in person, I figured those could be left off. They weren’t going to show up well in a picture. So I finished my last big element, a light blue flag for the top that said “Ride On” (a throw to the Zwift “ride ons” that people give/receive) and called the cake done. I pulled out the wax paper, wiped down the cutting board, and popped some black construction paper around the cake to make it look a little nicer. If I’d been thinking, I would have tucked the paper under the cutting board and taped it (like a proper cake board) but my brain was all done with thinking and I… didn’t. The very last step was to use my FAVORITE icing tip (the grass tip!) to make some fun grass on the base. And then, voila:
Paul kindly helped me to take some photos, but we quickly realized the evening light was terrible. So after snapping a few shots, we decided to call it a night and try again in the morning. Amazingly, it wasn’t even 9PM!
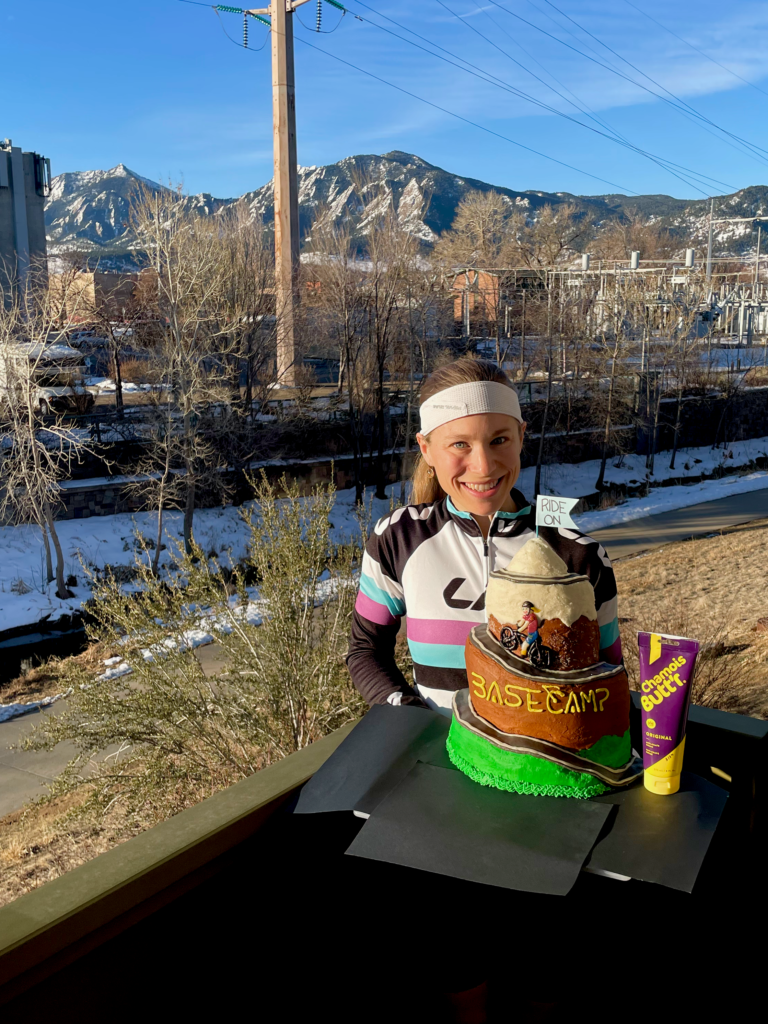
With Monday morning came much better lighting, and we took the cake around for a little photo shoot both outside and inside.
On his Saturday bike ride, Paul had captured a bunch of screenshots of Alpe Du Zwift so we could set a fun background (a way faster/easier way to make a background than my original plan to draw it).
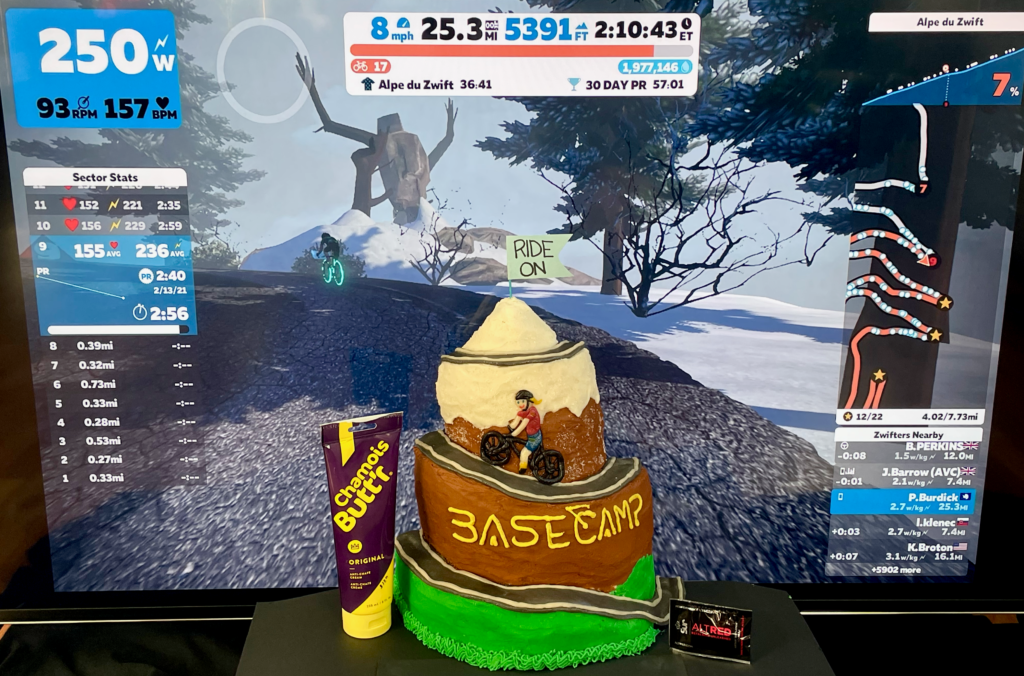
We moved the TV onto the floor (far easier than we thought it would be) and tossed some black shirts around it to make it look nicer. The cake is propped up on the games of Clue and Risk ? We even got some Colorado mountain scenery!
And that was that!* I submitted my photos to the photo contest and then we dug in. If you’re wondering, the back is completely unfinished and looks a right mess (but again, NO ONE was going to see it):
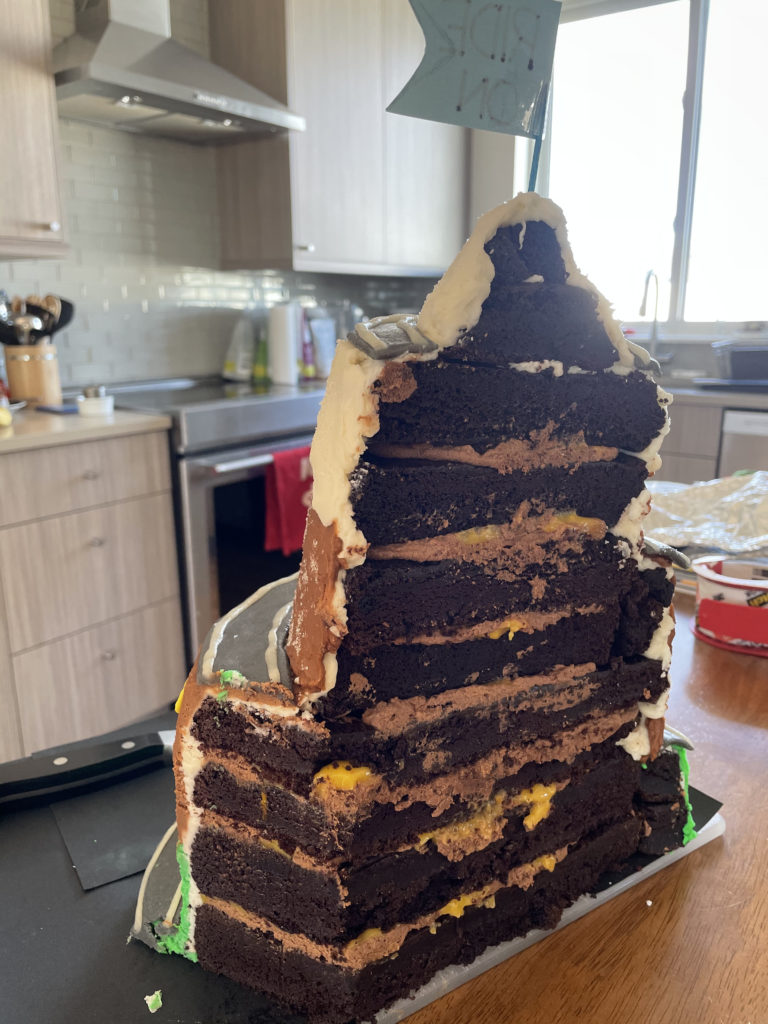
But the cake itself turned out QUITE tasty and extremely decadent. Paul doesn’t really like marzipan, so I happily get to eat all that. And we even froze a good chunk of it so we don’t make ourselves sick and we can enjoy some later.
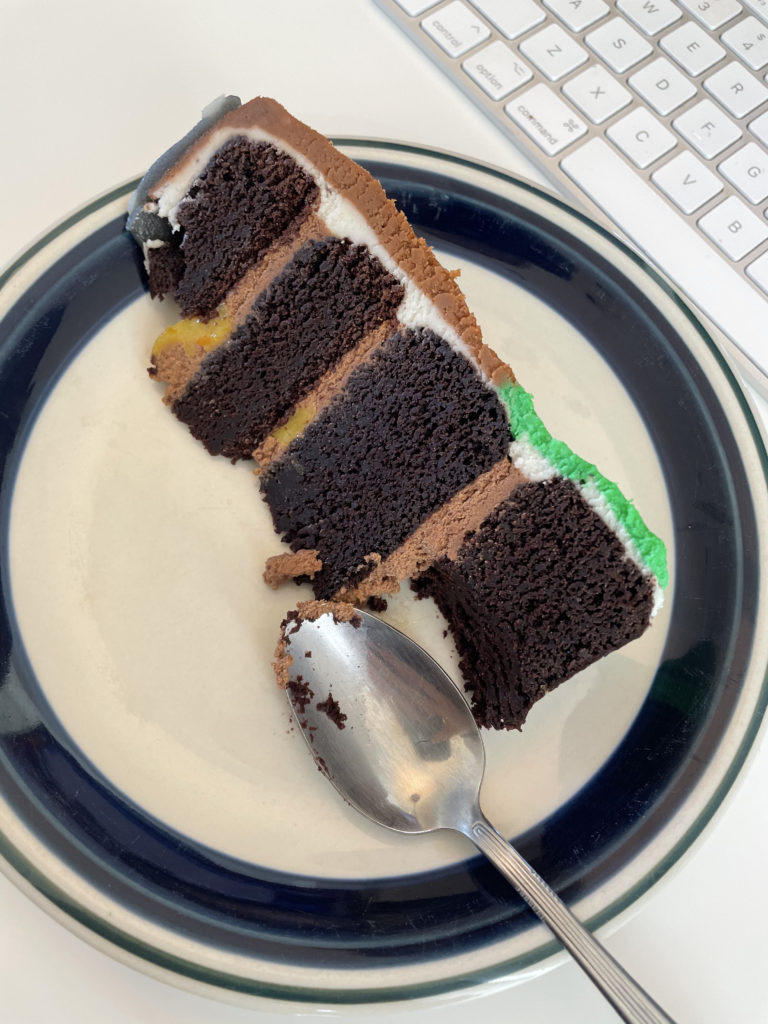
Though, to be clear, we both put away quite a lot of cake between Monday-Thursday. Like, more cake than anyone probably should eat in four days. But I’m not sad about it. Not one bit.
*Technically, there was another step here involving a very, very tiny missed bit of crucial frosting and a little photo editing to fix. But shhh, don’t tell ? I bet you can’t tell where the edit is anyway ?
One thought on “Biking? Cake? BIKE CAKE!”